$50
TJF CREATIVE LUT PACK
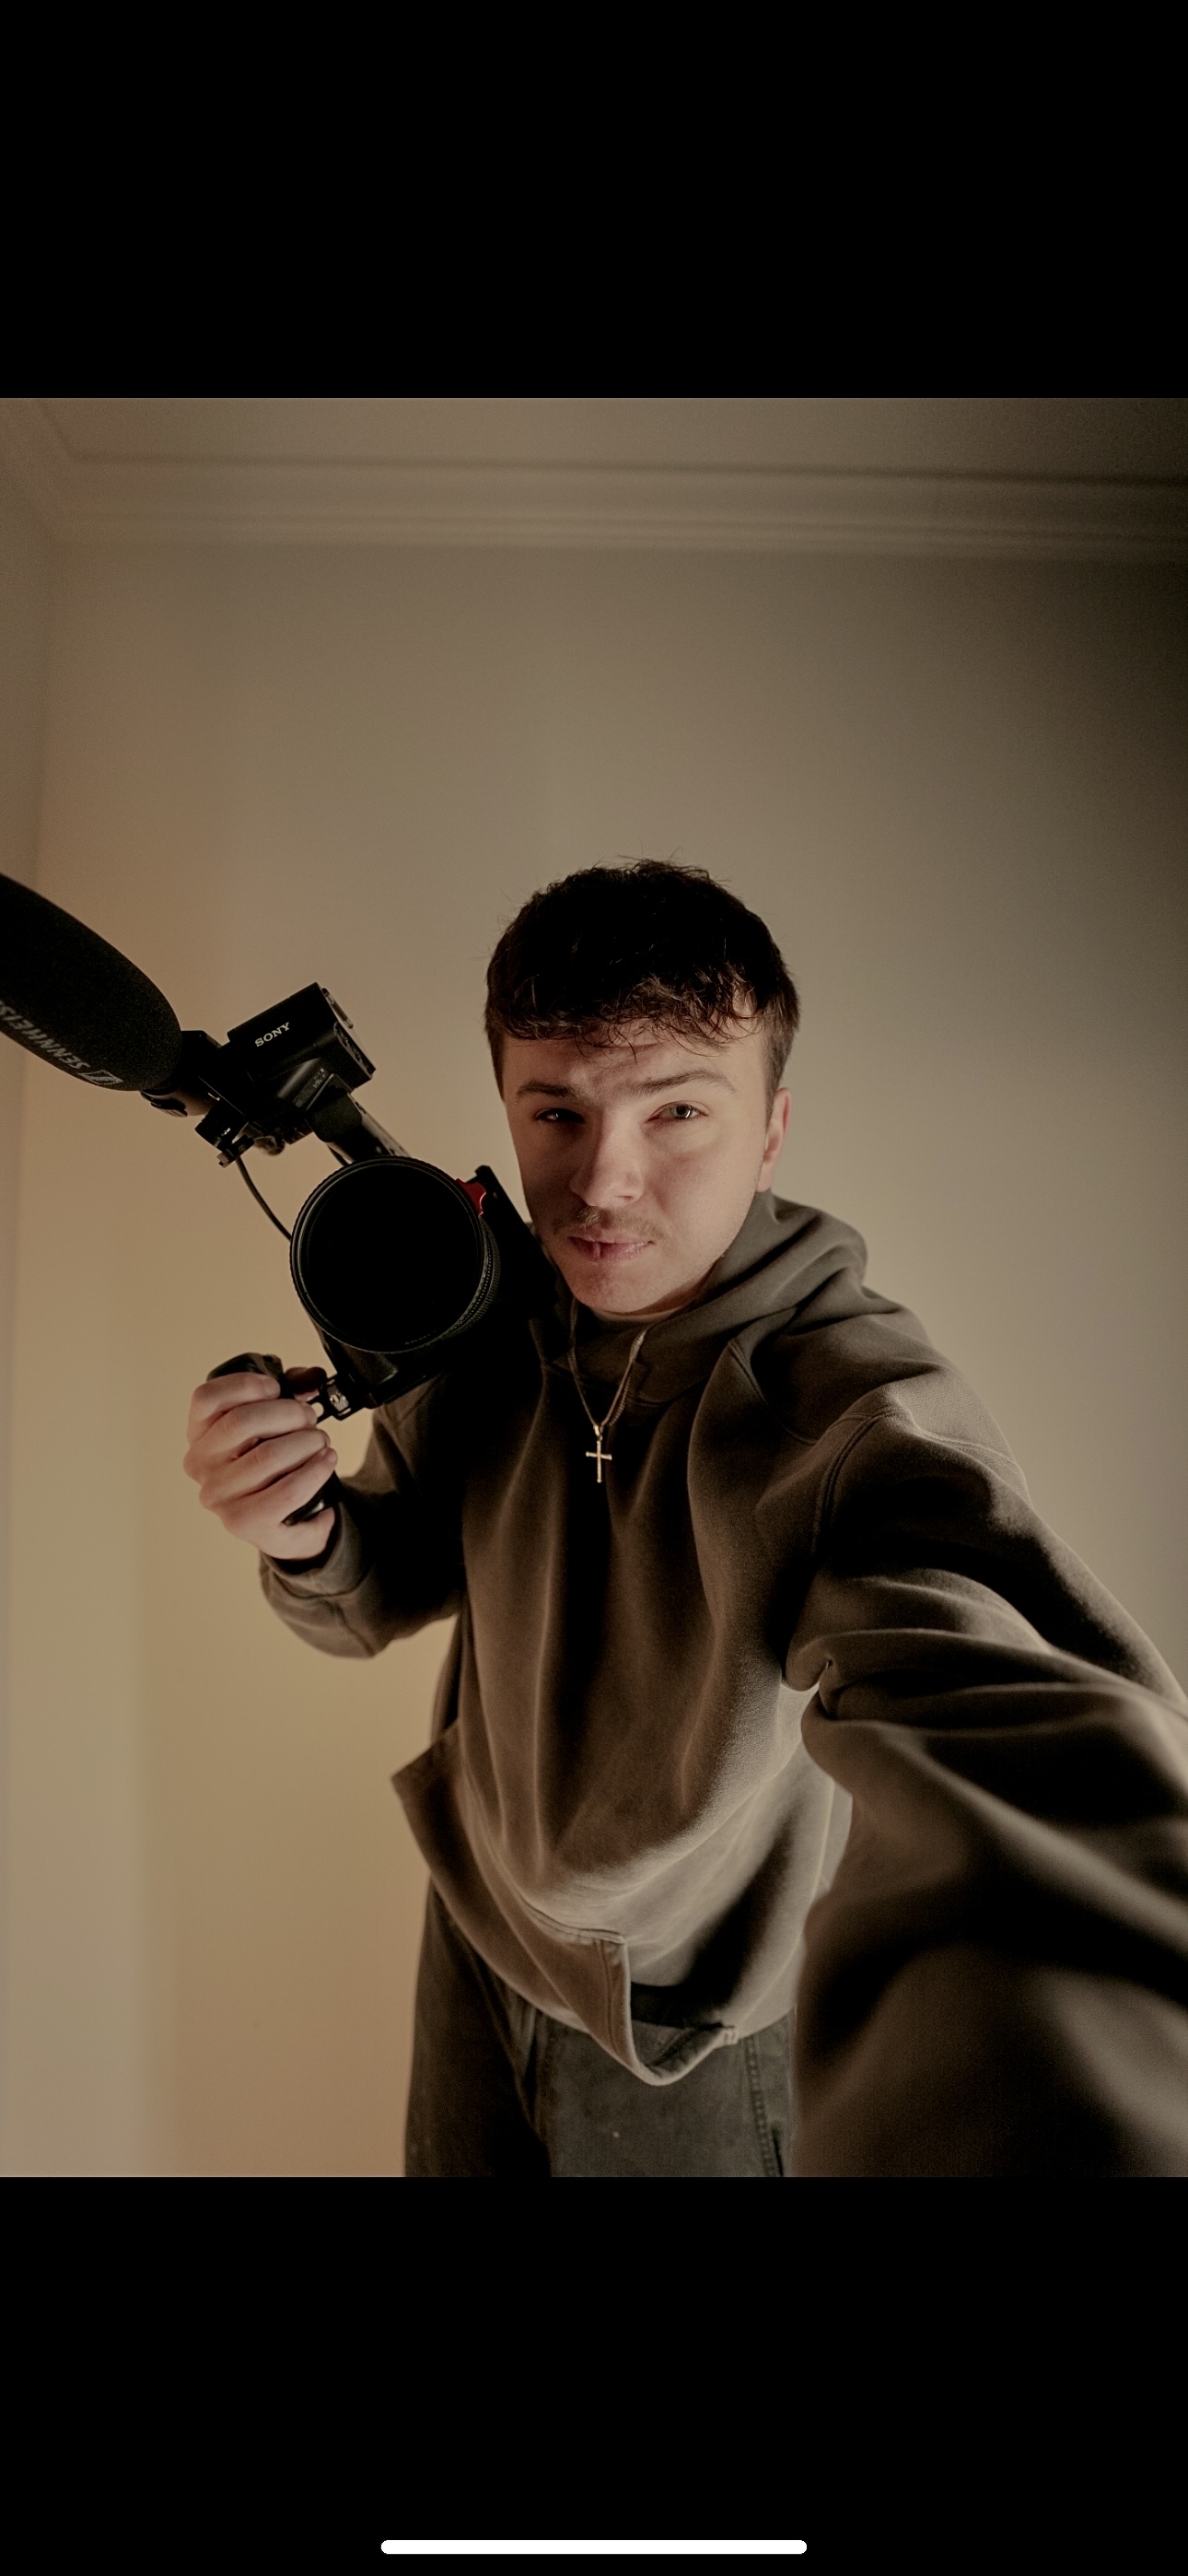
INTRODUCTION
You’ve seen the look. Now you can use it yourself.
After years of filming sports, building my brand, and experimenting with endless color grading workflows, I finally created something that reflects my exact style—clean, vibrant, gritty, and cinematic.
This LUT pack is for every creator who wants to elevate their visuals instantly—without needing to be a colorist.
These 6 custom LUTs have been tested on all types of footage—outdoor courts, locker rooms, low light arenas, sunny AAU games, and even late-night behind-the-scenes shots. Whether you're a beginner or pro, these are drag-and-drop ready and built for speed.
Let’s break it all down.
WHAT IS A LUT?
A LUT (Look-Up Table) is a preset color profile that instantly transforms the color of your video.
It’s like a creative cheat code for your footage.
Instead of spending 30 minutes dialing in your color wheels and curves, you can apply a LUT in seconds to get a professional, cinematic look. LUTs are used by filmmakers, editors, YouTubers, and directors—because they save time, create consistency, and make your visuals pop.
WHY USE THIS PACK?
These aren’t generic filters. They’re designed specifically for creators like us—who shoot fast, move fast, and still want our work to stand out.
Benefits of This Pack:
- Built for Real-World Shooters: Tested on sports content, behind-the-scenes, interviews, workouts, and day-in-the-life content.
- Color You Can Trust: I made these LUTs with contrast, warmth, skin tones, and storytelling in mind.
- No Experience Needed: These LUTs are optimized for creators who just want to drop it in, tweak intensity, and post.
- Signature Aesthetic: This is the same grading style I’ve used to build my brand, grow on TikTok, and land big jobs.
WHAT’S INCLUDED
6 Handcrafted LUTs that reflect my most-used creative color styles:
- Astrum
- Afterlight
- Aurocolor
- Cinestill
- Colorproof
- Rollie
All LUTs are in .CUBE format and work in:
- Adobe Premiere Pro
- Final Cut Pro X
- DaVinci Resolve
- Lumafusion
- CapCut (desktop)
- Any editor that supports LUTs / .CUBE files
HOW TO INSTALL & USE (DRAG-AND-DROP METHOD)
STEP-BY-STEP GUIDE
-
Import Your Footage
Open your footage inside your preferred video editing software. -
Create an Adjustment Layer (optional)
For more flexibility, use an adjustment layer on top of your footage. -
Open the Color or Lumetri Panel
This is where LUTs are applied—usually under the “Creative” tab or “Input LUT.” -
Load the LUT
Click “Browse” and select one of the LUTs from the pack. Make sure you’ve unzipped the folder first. -
Tweak Intensity & Exposure
Use the intensity slider to dial it in. You can also slightly adjust exposure, shadows, or white balance if needed. -
Export & Upload
That’s it. No overthinking. Just cinematic visuals, ready to go.
FOR DAVINCI RESOLVE USERS
-
Import Your Footage & Create a Timeline
Drop your clips into the media pool and create a new timeline. -
Go to the Color Tab
This is where all grading and LUT work is done in Resolve. -
Right-Click in the Node Area
Select “Add Node” > “Add Serial” if needed. Right-click the node and choose “LUT > 3D LUT > Browse”. -
Locate the LUT File
Navigate to the folder where your LUTs are saved and select one. You can also install LUTs permanently by going to Project Settings > Color Management > Open LUT Folder, then paste the LUTs there and refresh. -
Preview & Tweak
Your LUT will instantly apply. You can fine-tune the grade using the wheels, curves, or contrast sliders. Resolve gives you full control to get the look just right. -
Render Out Your Project
Head to the Deliver tab, choose your settings, and export your masterpiece.
RECOMMENDED SETTINGS FOR BEST RESULTS
-
Shoot in a Neutral or Flat Profile
(i.e., Rec.709, Sony PP6/PP7, Canon C-Log, etc.) - White Balance First – Get the correct temperature before applying a LUT.
- Slight Exposure Tweaks – Don’t overcorrect; LUTs are made to save time, not complicate your workflow.
- Stack With Other Effects (Optional) – Add grain, glow, sharpening, or vignettes for your final touch.
FREQUENTLY ASKED QUESTIONS
Q: Do these work on mobile apps?
A: Yes. If your editor allows .CUBE LUT import (like Lumafusion or CapCut desktop), you’re good.
Q: What if my footage doesn’t look right with a LUT?
A: Every LUT reacts differently to footage. Just lower the intensity, adjust contrast or saturation, and trust the process—it’s all part of the creative control.
Q: Can I use these on client work or brand projects?
A: Yes. Once you own the pack, they’re yours to use however you want. Just don’t resell or redistribute.
NEED HELP OR INSPIRATION?
Check out my tutorials on Instagram or YouTube, where I break down how I use each LUT and show real before-and-afters.
IG: [@thejakefisher]
Or DM me directly—I always try to help fellow creators who are locked in.
FINAL NOTE
These LUTs are more than color tools. They’re a piece of my workflow—and now they’re part of yours.
Use them to create your best content yet.
Let’s level up.
— Jake